
Windows Setup
Connect your Paradise USB cable on Windows 10 or 11
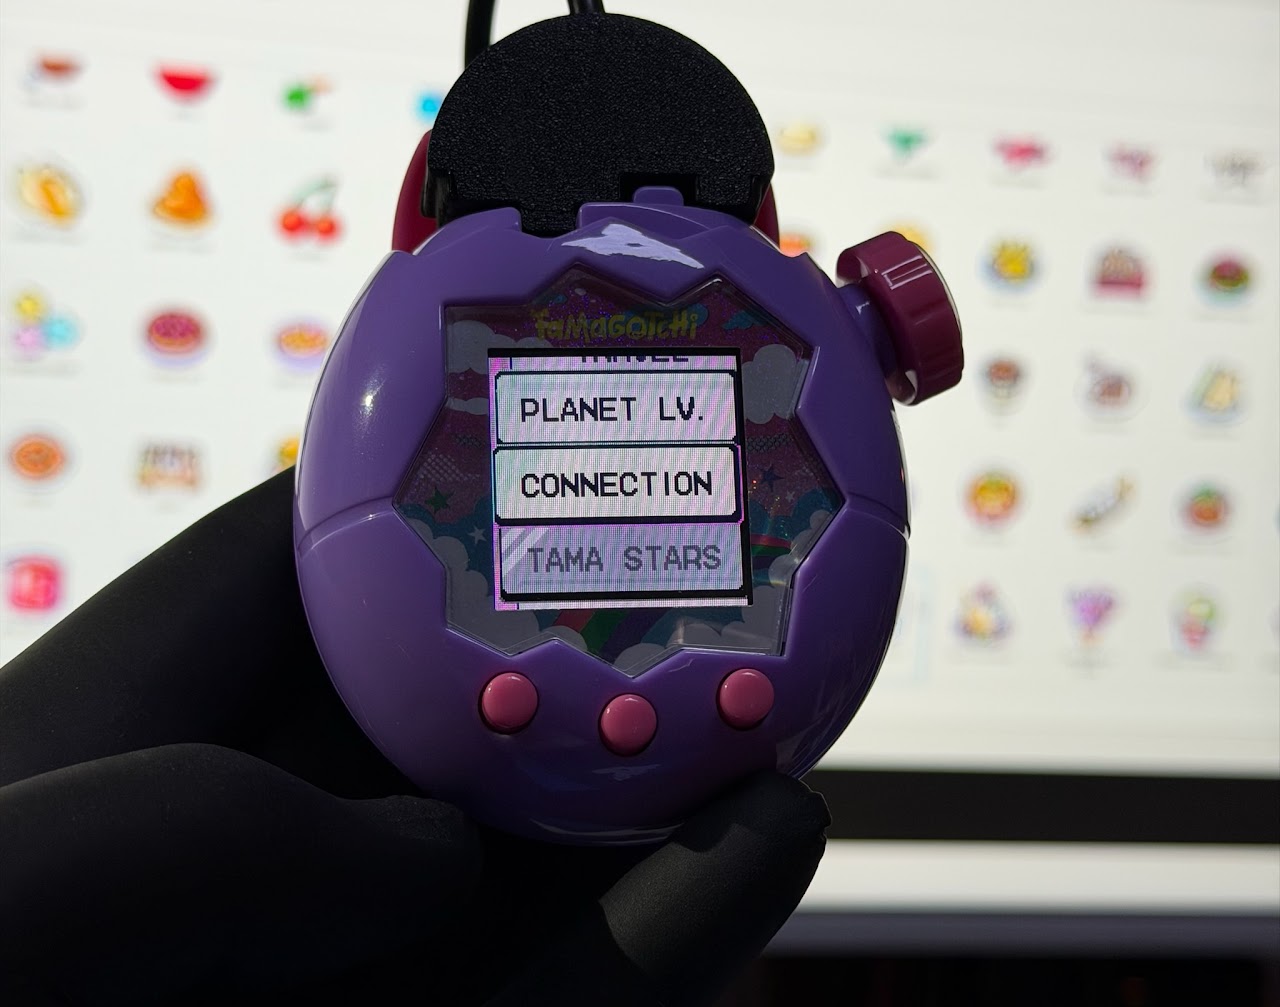
Prepare your Tamagotchi Paradise
- On the home screen, press A (left button).
- Select Connection.
- Choose Download.
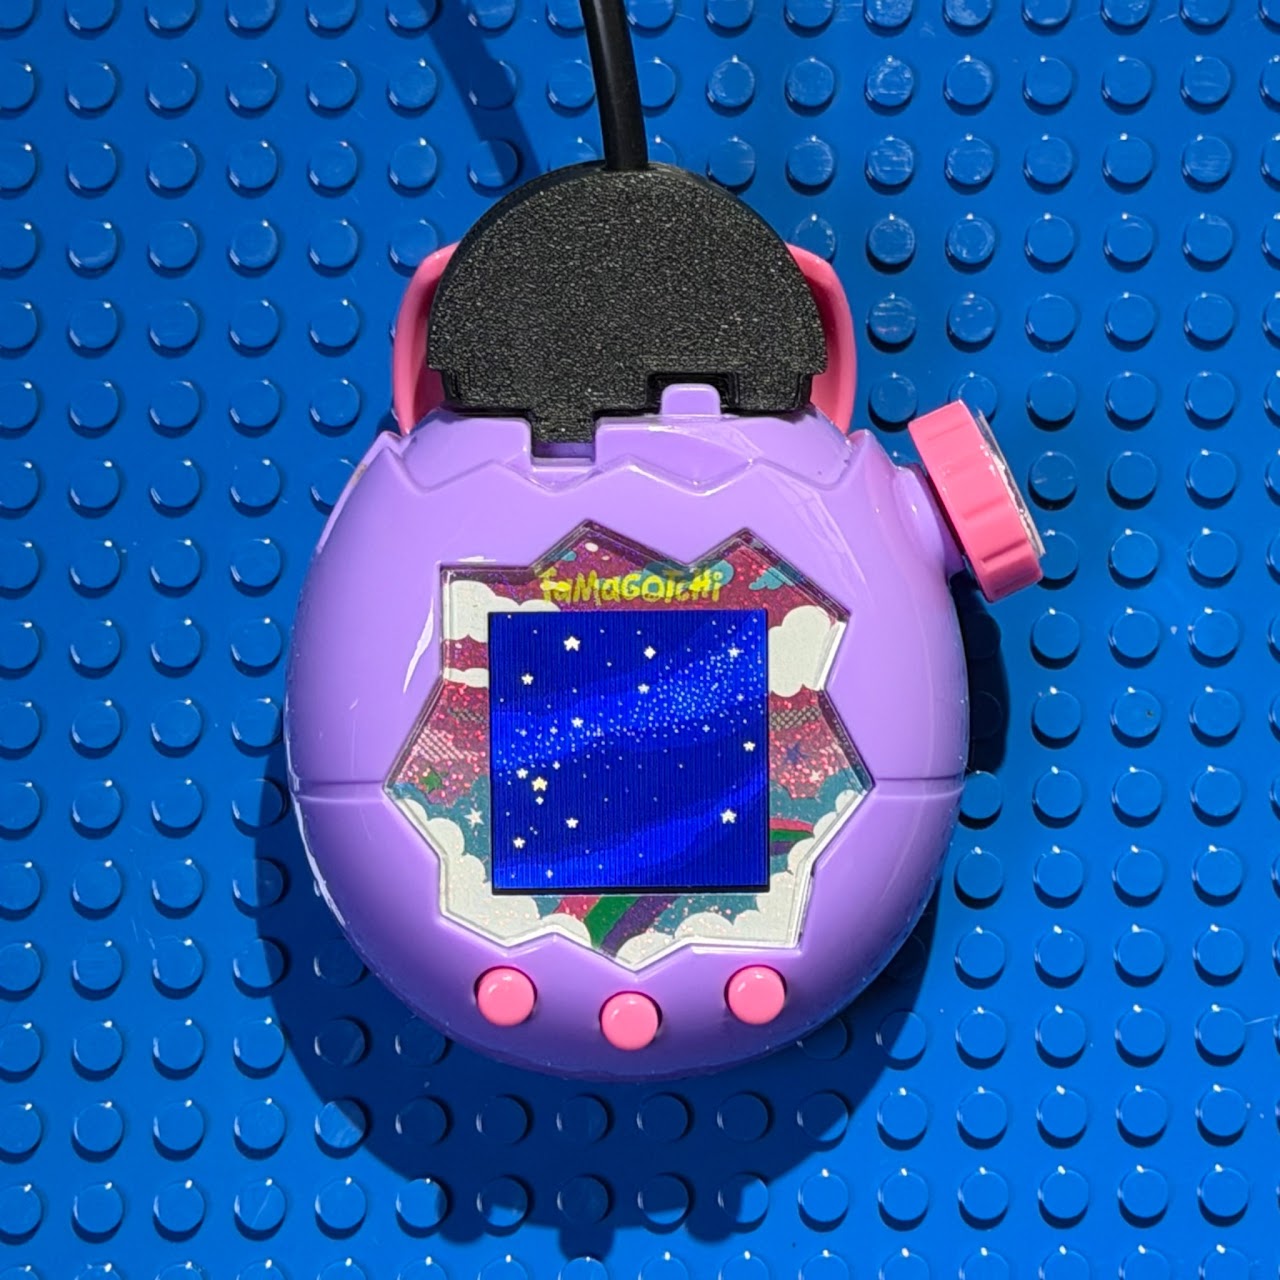
- Wait until you see the connection-waiting animation.
Set the COM port
- Click Refresh once to update the port list.
- Open the COM Port dropdown and choose your cable's port. The correct one is usually the last item in the list — the newest connection.
- If you change the USB port, the COM number may change (e.g. COM6 → COM7). That's normal — just pick the last/newest port again.
- The status panel on the right shows whether the connection is Connected/Ready.
Test the connection
Click Test Echo. If you see "Echo Text Successful" or the status changes to Connected, you're ready to send.
App options
- Skip dialogs: for advanced users — when enabled, the OK confirmation popup after each transfer is suppressed. Send the next item as soon as the device finishes receiving the previous one.
- Show Log: toggles the bottom Log panel (transfer status + activity messages). Keep it on while troubleshooting; turn it off for a cleaner view.
If the app doesn't see your cable
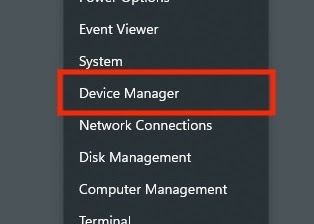
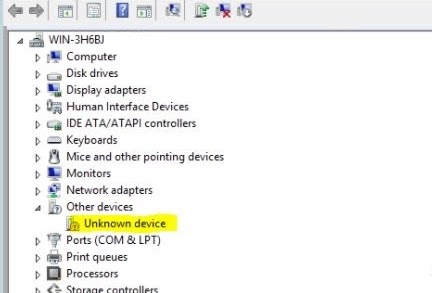
Check Device Manager:
- Press Windows + X and select Device Manager.
- Expand Ports (COM & LPT).
- If you see USB-SERIAL CH340 (COMx), Windows recognises the device — note the COM number and select the same port in the app.
- If you see a yellow ! or Unknown Device, the driver isn't installed. Download it from the Downloads & Drivers page, then check Device Manager again.

.NET runtime
Most computers are ready to go — just try opening the app first. If you see a popup saying "You must install or update .NET", click Download it now in that window for an automatic install. Manual download links are on the Downloads & Drivers page.