
macOS Setup
Connect your Paradise USB cable on macOS
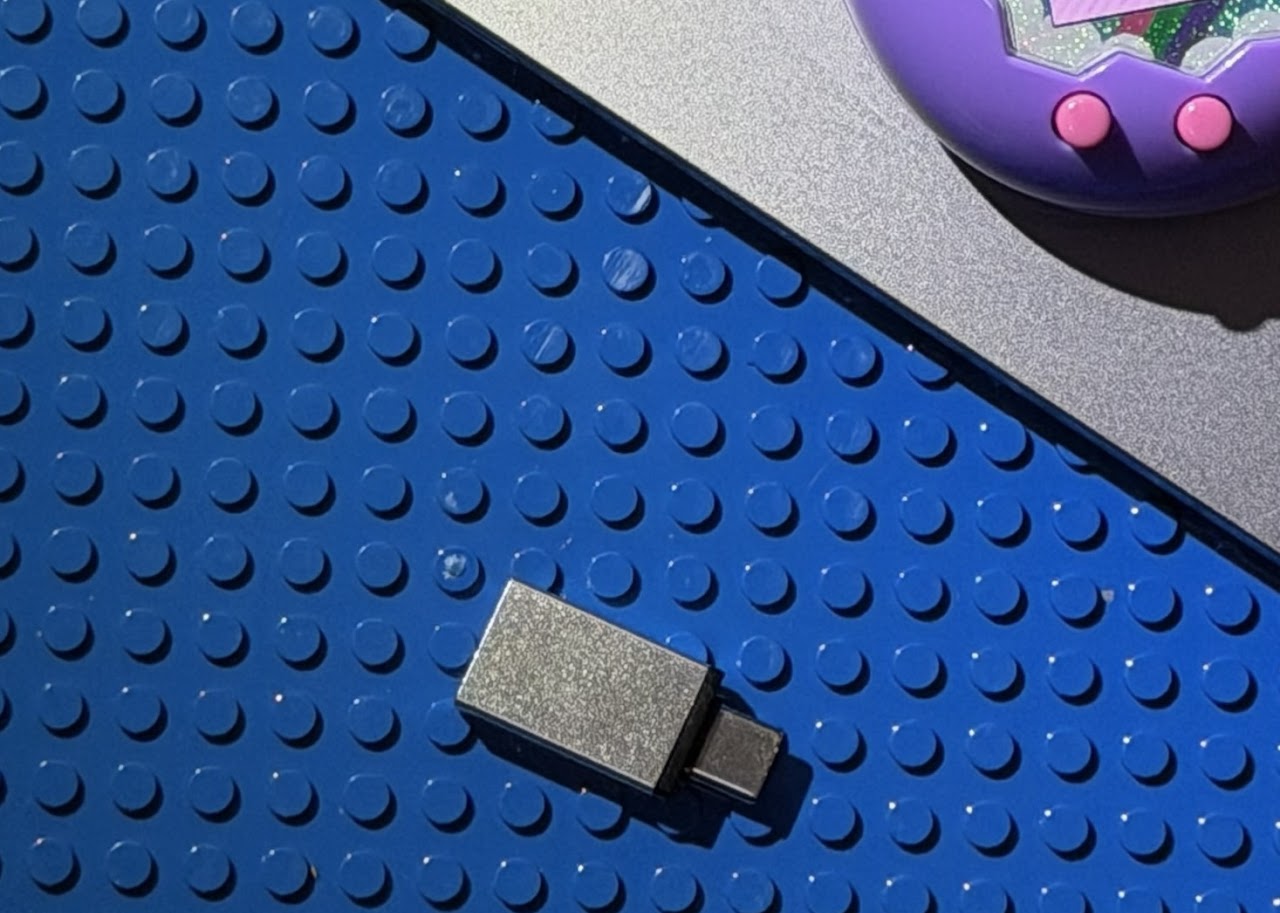
Step 1: Hardware connection
- Use the USB-C adapter: connect the included adapter to your Mac first.
- Connection order matters: attach the clip to your Tamagotchi before plugging the USB into your Mac. This prevents connection errors.
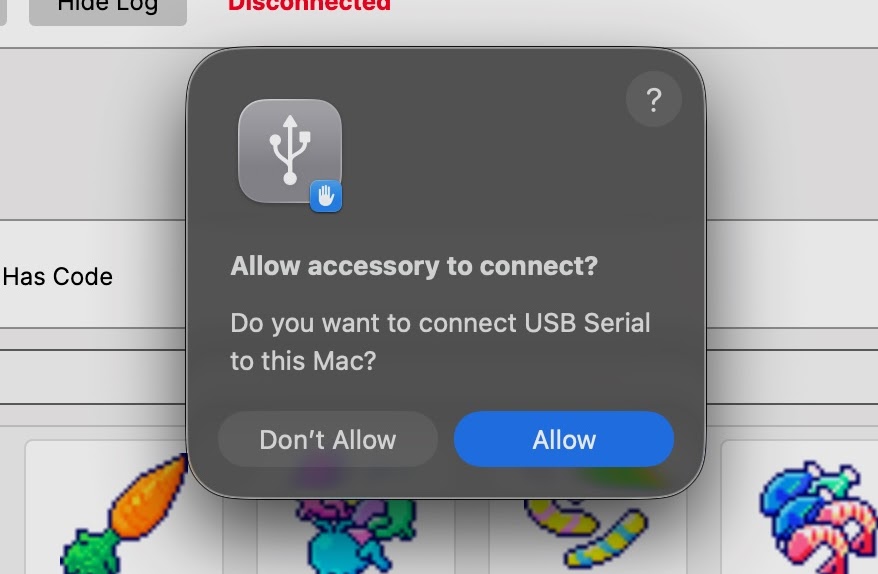
Step 2: Allow the connection
After plugging in the USB, if you see the prompt "Allow accessory to connect?", click Allow immediately so macOS can see the device.
Step 3: Install & launch TamaHome (DMG)
- Open the installer (.dmg): double-click the .dmg file you downloaded to open the install window.
- Drag TamaHome into Applications: drag the blue TamaHome icon onto the Applications folder icon next to it.
- Launch: open Applications and double-click TamaHome to start the app.
If macOS blocks the app
- Open System Settings.
- Go to Privacy & Security.
- Scroll to the bottom (Security section) and find the entry for TamaHome.
- Click Open Anyway (or Allow Anyway).
- Try opening TamaHome again from Applications.
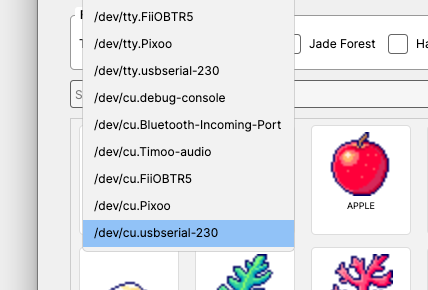
Step 4: Select the correct port
- Click Refresh once to update the port list.
- Open the Port dropdown and look for a port that starts with
/dev/cu.usbserial-(the suffix may be 230 or 110). The correct port is usually the newest one — at the bottom of the list.
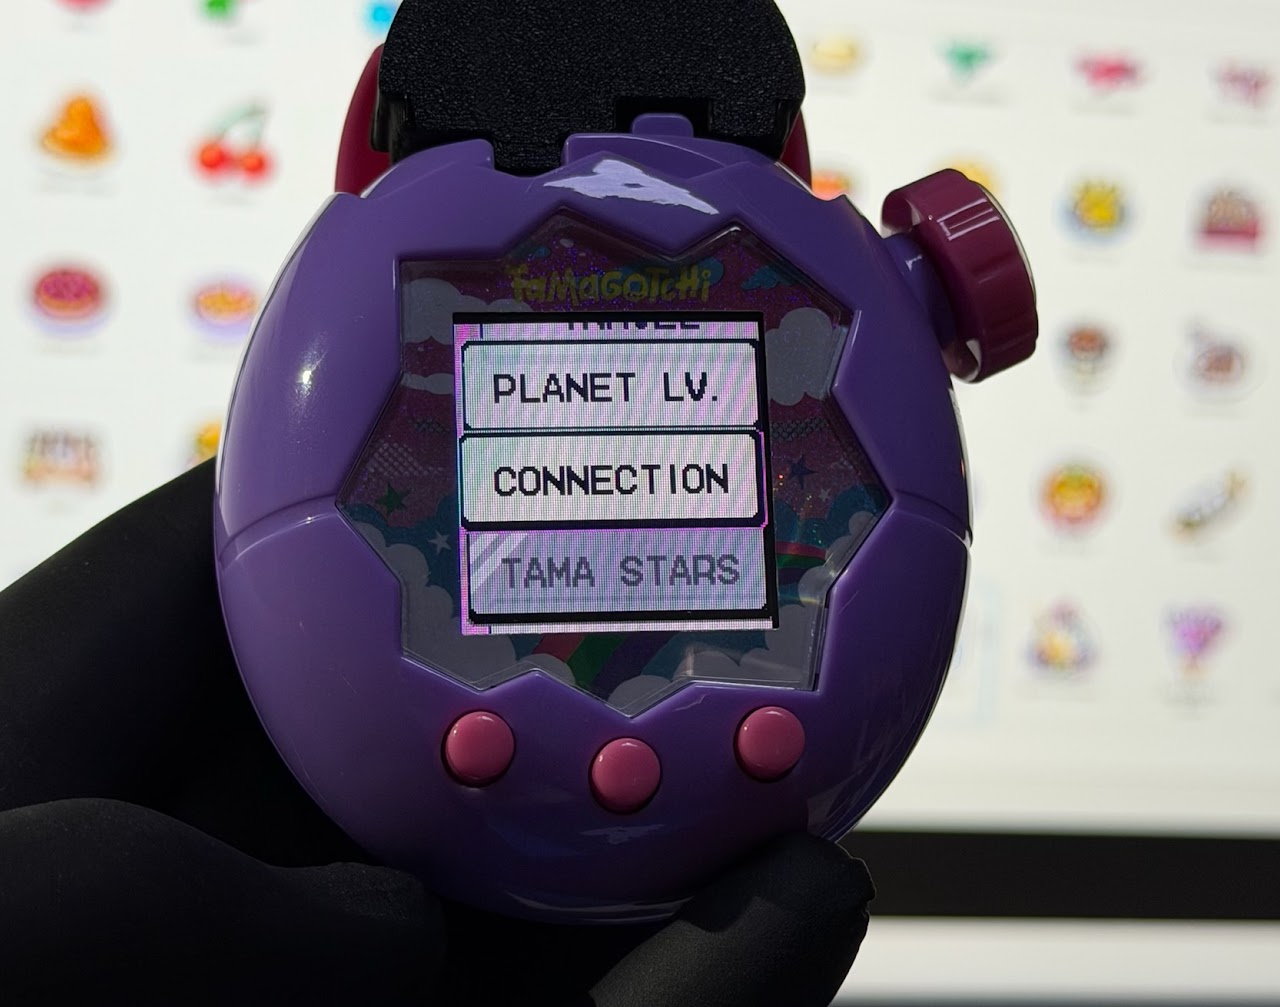
Step 5: Prepare your Tamagotchi Paradise
- On the home screen, press A (left button).
- Go to the Connection icon and select Download.
- Wait until you see the connection-waiting animation.
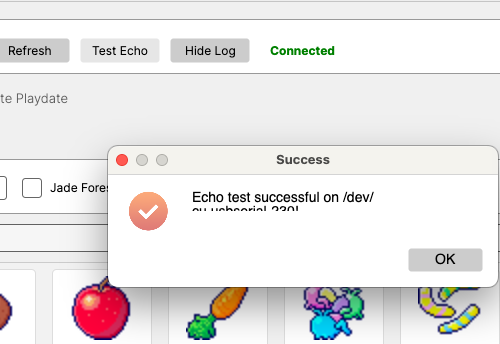
Step 6: Echo test
Click Test Echo. If the status changes to Connected, you're ready to send items.